A display board you're proud of.Without losing your Sunday.
WallKiwi's display board maker turns one sentence, or a photo of a display you like, into a whole board for a party, a shop, a club or a classroom. Choose from three designed looks, check every word, then print every piece on A4 with a cutting outline and an assembly guide that shows where it all goes.

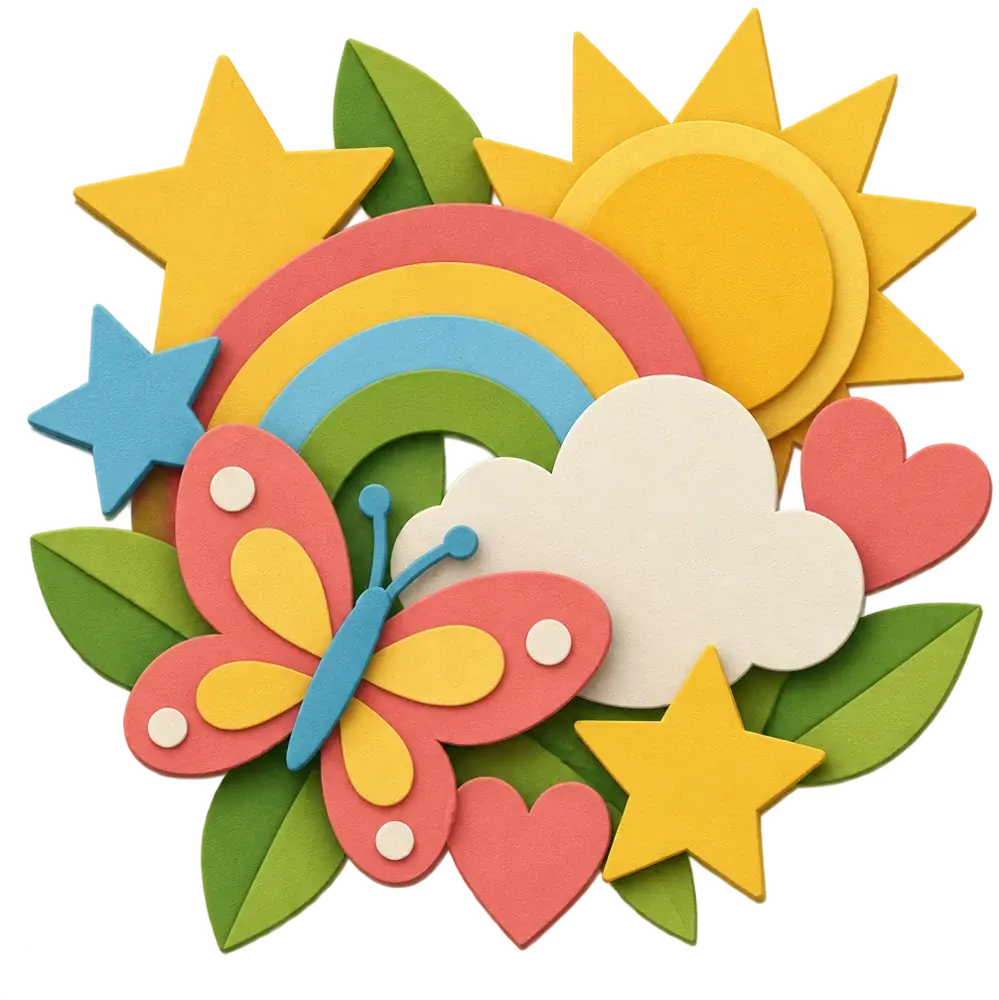
- 3 looksto choose from for every board
- 1 outlinearound every piece to cut along
- A4sheets, with the assembly guide first
- Every wordchecked before anything prints
Every piece of a real board
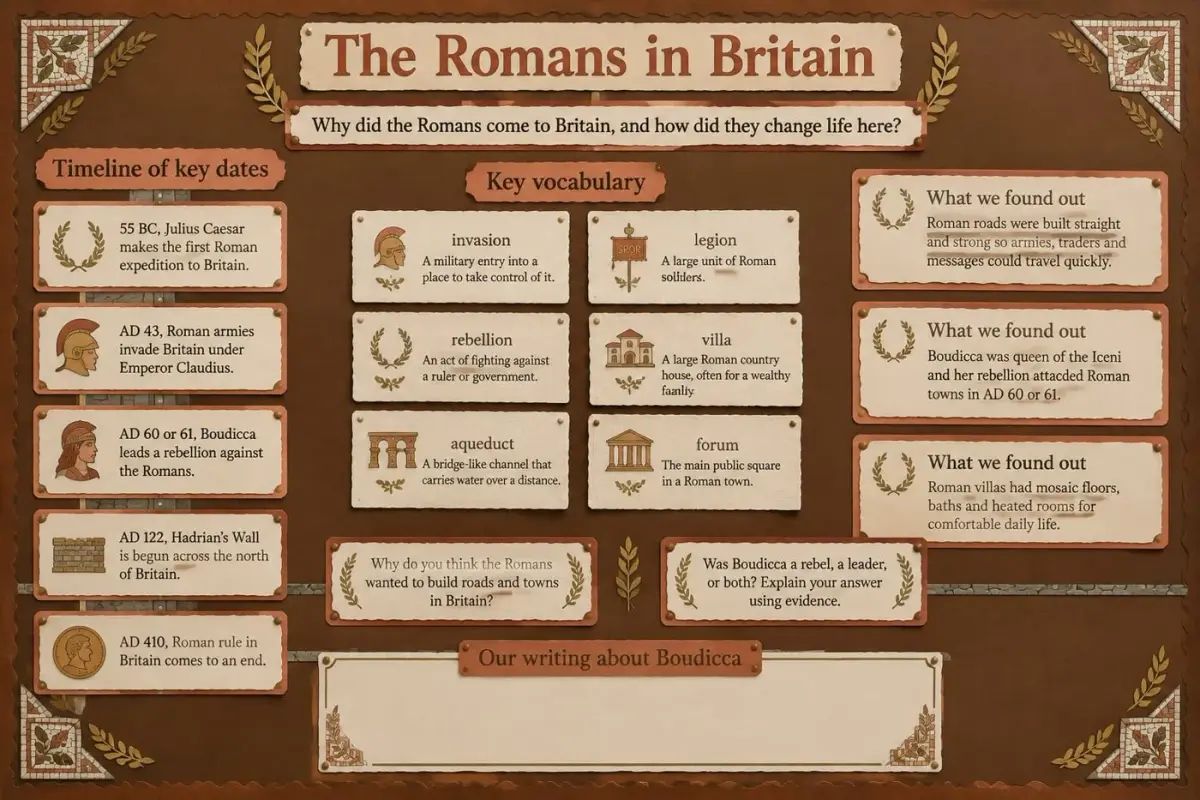
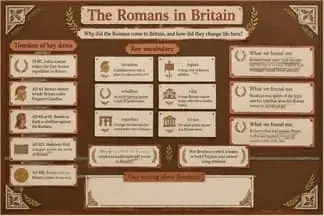
This is the Romans in Britain working wall, taken apart. Each piece prints on its own with one smooth outline, all in the same look.

Title lettering
Big cut-out words for the top of the board, each word its own piece.

Section headings
Banners that split the board into areas, like a timeline and key vocabulary.
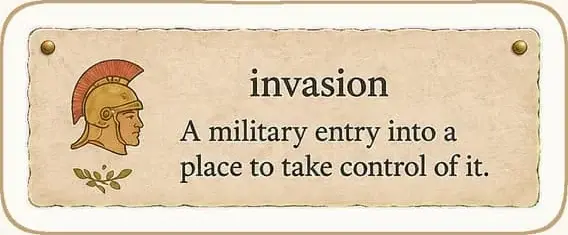
Vocabulary cards
A key word, a short meaning and a small picture on every card.
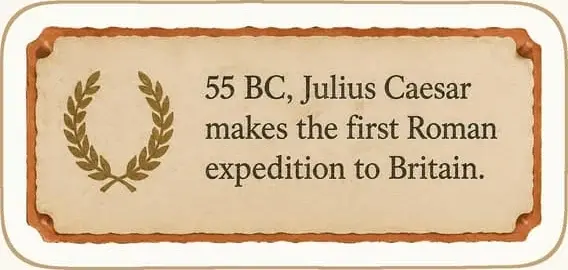
Timeline cards
Dates and events in order, ready to run along the board.
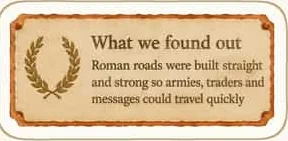
Fact cards
Short facts and findings, written for the year group you choose.
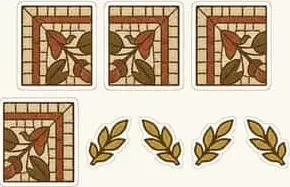
Corner pieces
Matching corners and small motifs that frame the board.
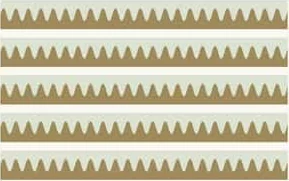
Border strips
Strips to run round the edge so the board looks finished.
Writing panels
Blank panels for pupils' work, questions or your own notes.
Assembly guide
Sheet one shows the finished board, so you know where every piece goes.
Boards teachers have made
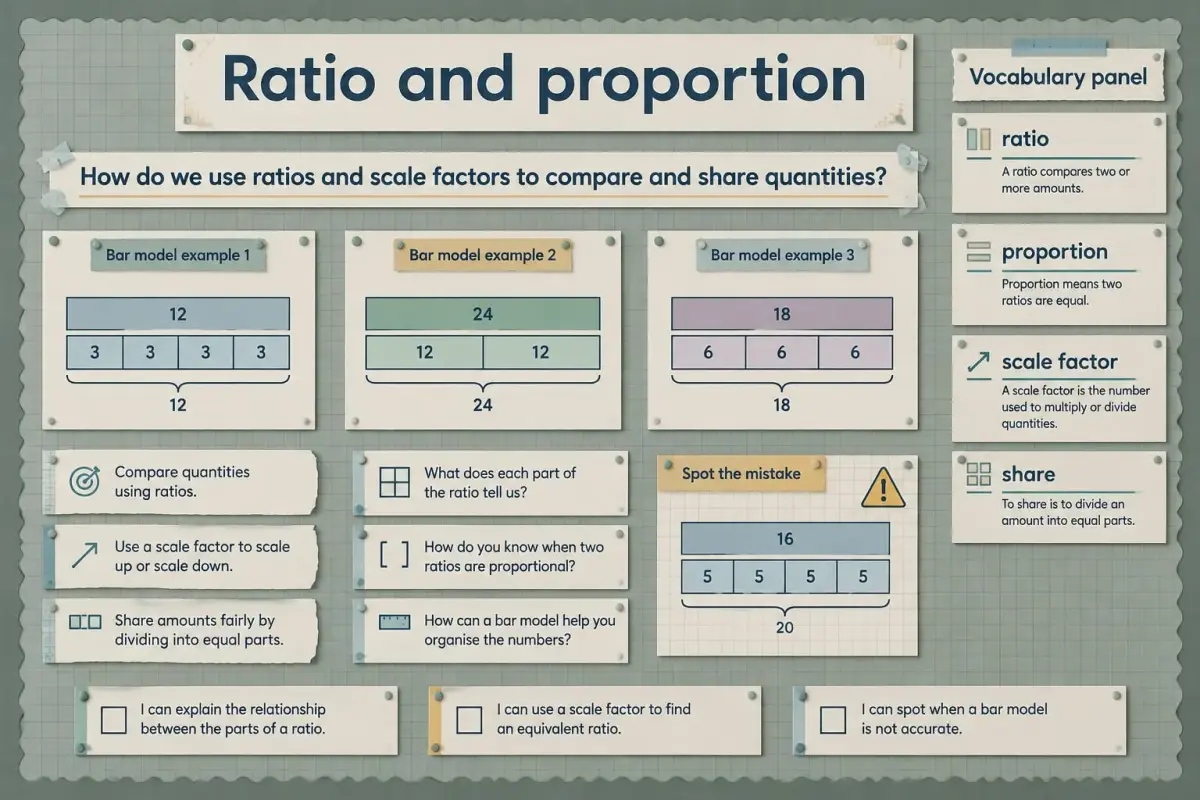
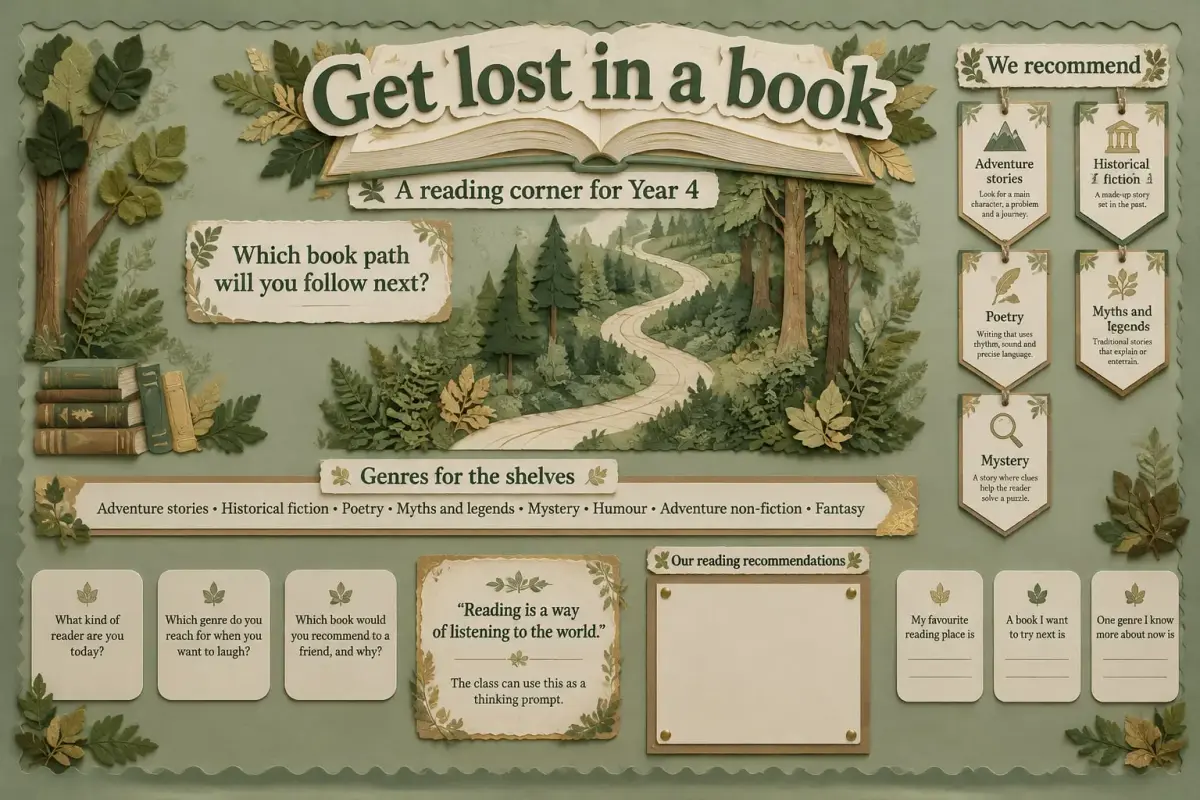
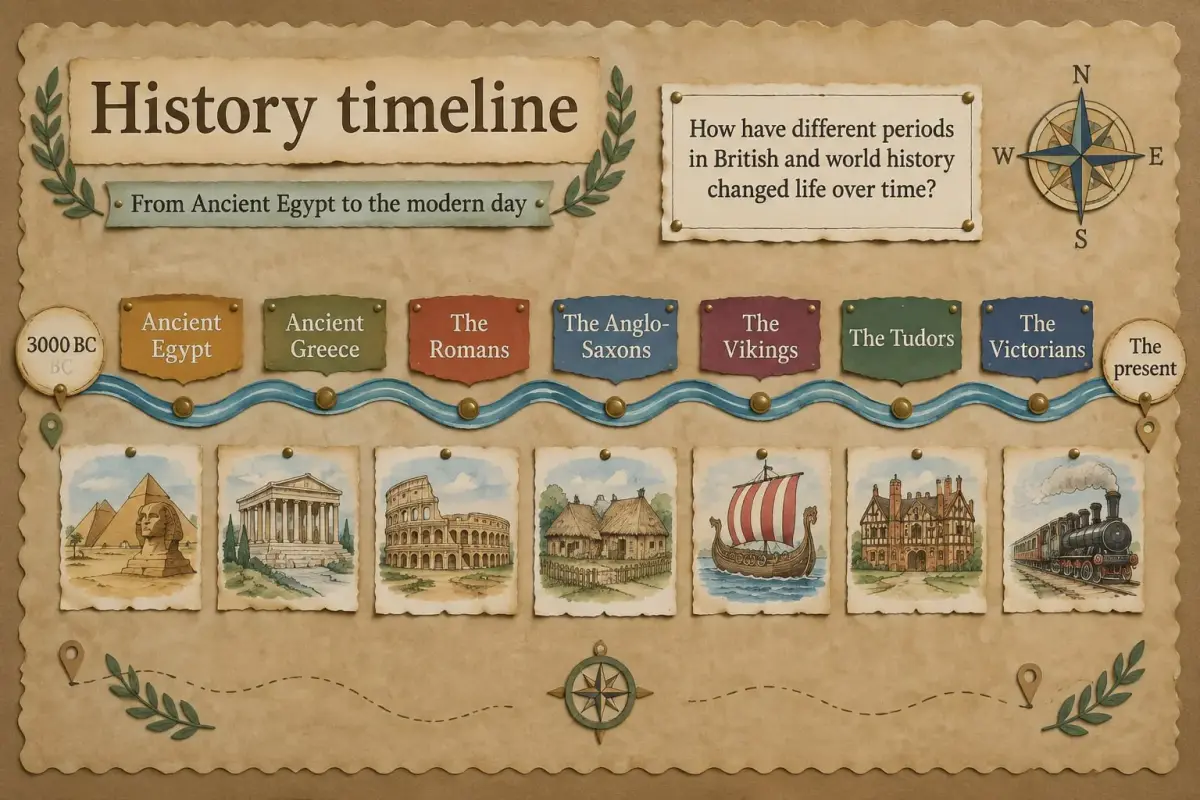
Every board here is real output, drawn from a short description. Open the ideas below to make one like it.
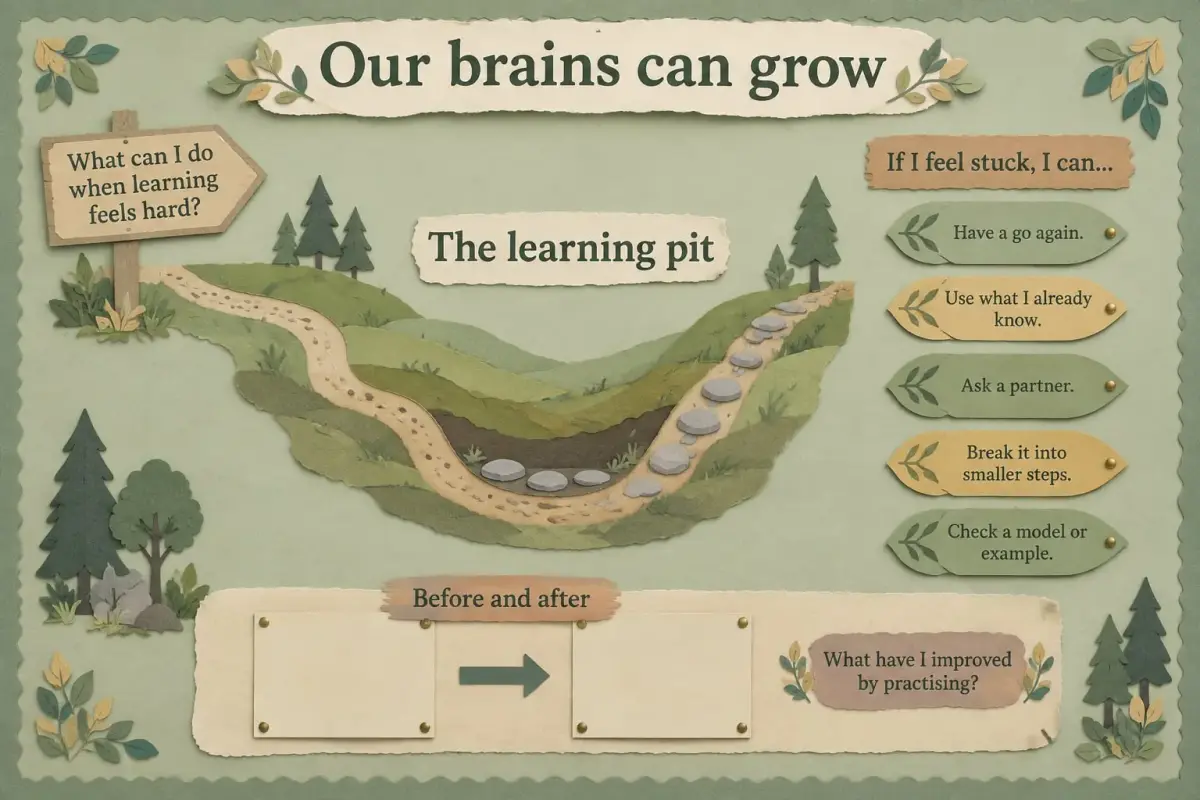
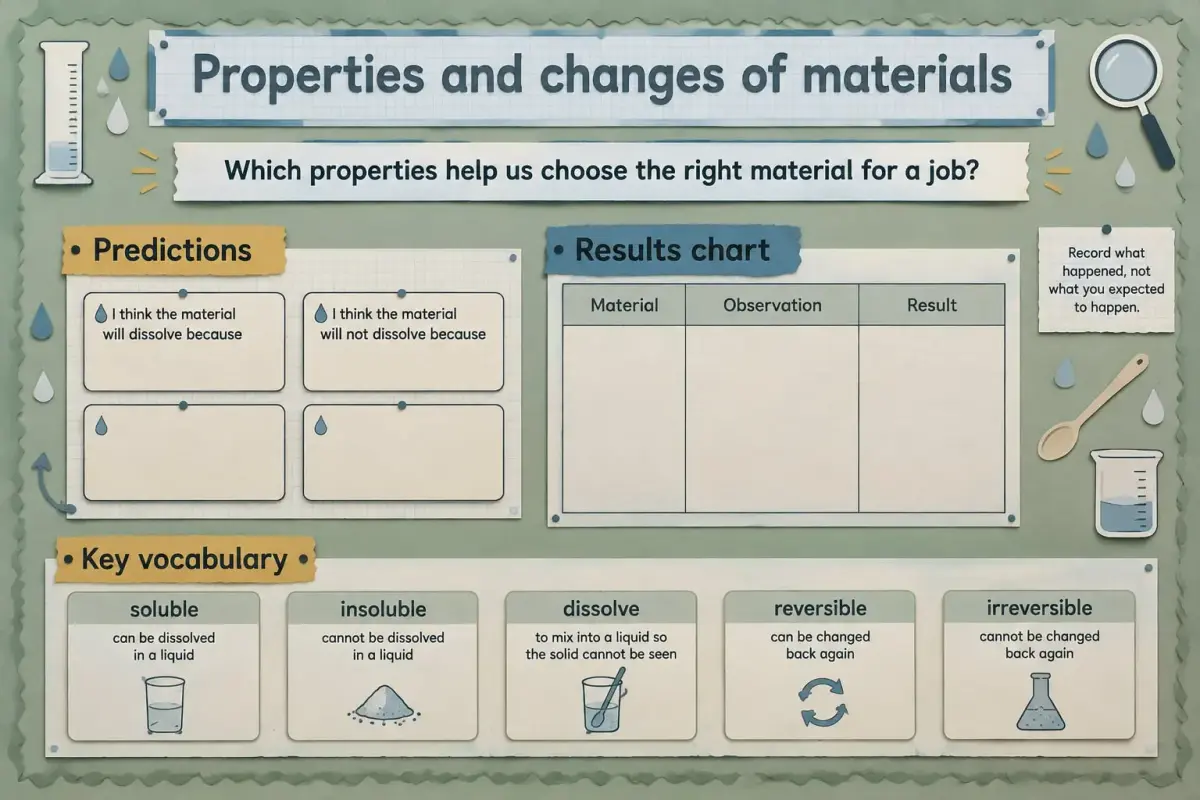
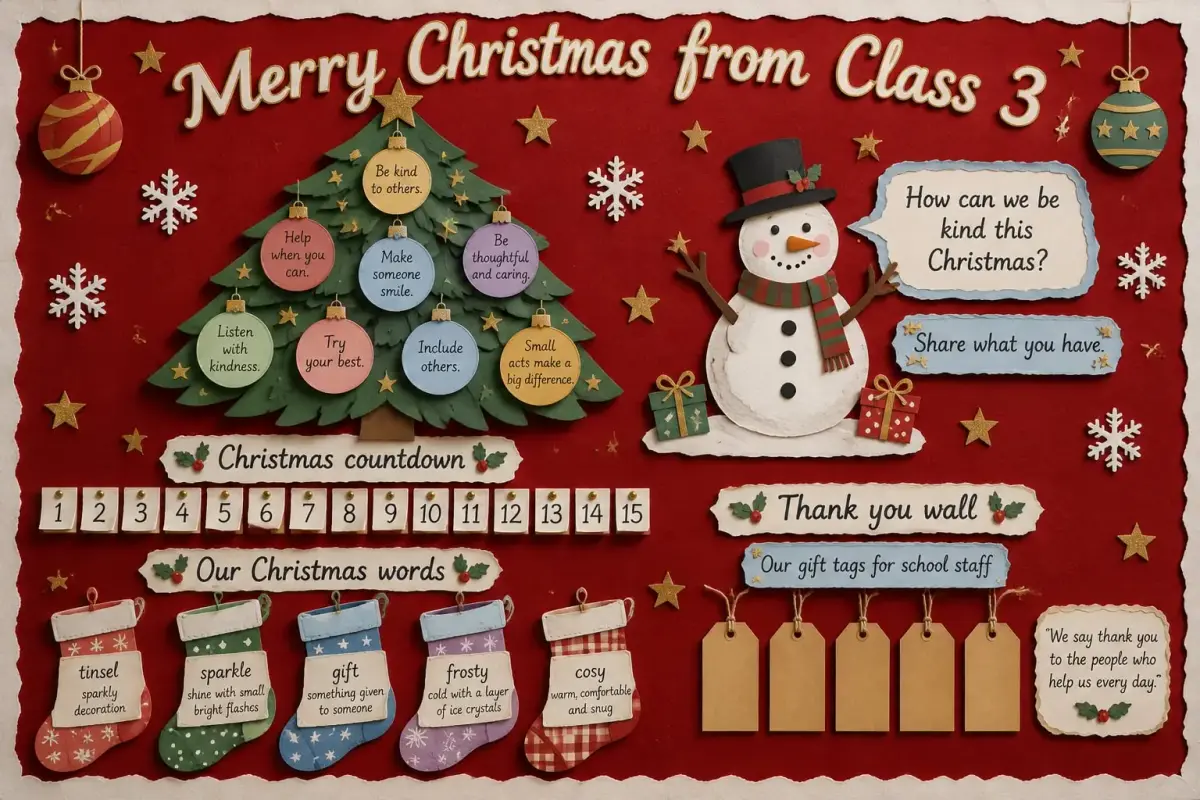
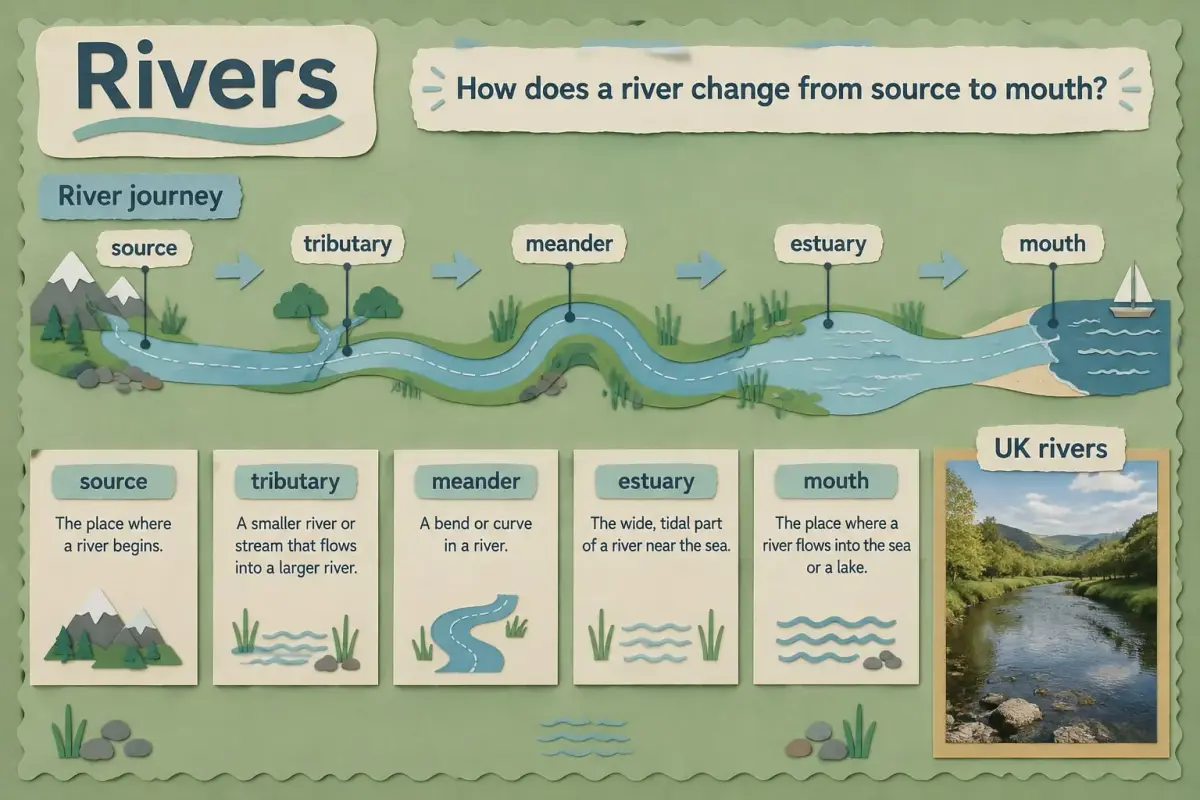
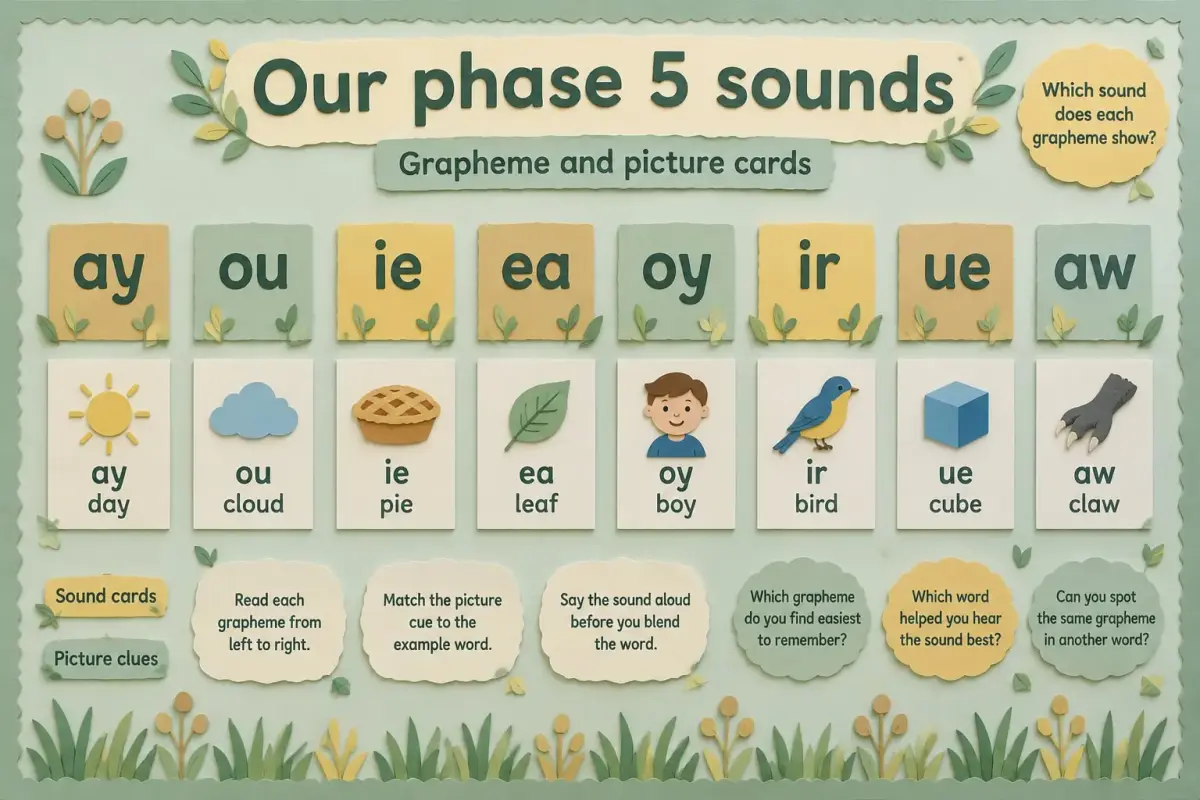
From one sentence to a finished board
- 1
Describe it or add a photo
Type what the board is for and what should go on it, or upload a straight-on photo of a display you already have.
- 2
Pick a look and check every word
Choose one of three designed looks, then tap any words on the board to change them. What you see is exactly what prints.
- 3
Print, cut and put up
Print the guide first, then every sheet at 100% on A4. Cut round each outline and follow the guide.
Display board ideas for every subject and season
Start from one of these and change every word for your class.
Classroom display boards: your questions answered
The things teachers search for when a board needs doing, answered plainly.
Planning a display
What should go on a classroom display board?
A clear title, the key ideas or vocabulary for the topic, a few strong pictures and space for pupils' work. Keep one purpose per board, such as celebrating work or supporting learning, so children know how to use it. WallKiwi builds the title, headings, cards and panels for you from one description.
What goes on a working wall?
A working wall supports the learning happening now: key vocabulary, worked examples, success criteria, prompts and questions, plus space to add pupils' work as the unit goes on. It changes with the lessons. WallKiwi can make a working wall from a sentence such as a Year 4 Romans working wall with key words and a timeline.
How do you plan a classroom display?
Decide what the board is for, measure it, then sketch where the title, headings and content will sit. Choose one colour scheme and one lettering style so it reads as a whole. With WallKiwi you describe the board, pick one of three designed looks and get an assembly guide showing where every piece goes.
How long does it take to make a classroom display?
Drawing and writing a board by hand often takes several hours. Most of that is design, lettering and layout. With WallKiwi the designing is done for you: you choose a look, check the words and print, so the time that is left is cutting out and putting the pieces up.
What makes a good display board in school?
It has one clear message, a title you can read from the back of the room, consistent colours and lettering, and enough white space that nothing feels crowded. Interactive boards also invite pupils to add to them. WallKiwi keeps every piece in one look, so the board feels designed rather than assembled.
Making it look professional
How do you make a display board look professional?
Use one backing colour, a matching border, one lettering style and pieces that share a look. Line things up along a straight edge and leave even gaps. Trimmed, consistent pieces matter more than lots of decoration. WallKiwi designs every piece in the same style and gives each one a single smooth outline to cut round.
What colour backing paper is best for a classroom display?
Calm, plain backgrounds such as soft neutrals, pale greens or blues let the content stand out and are easier on pupils' attention than bright patterns. Pick a backing that contrasts with your lettering. WallKiwi pieces print on white paper with their own colours, so they suit most backings.
How big should text be on a classroom display?
Titles should be readable from the back of the room, which usually means letters around 10 to 15 cm tall. Card text that pupils read up close can be smaller, but should still be clear from a metre or two away. WallKiwi sizes the pieces to your board for you.
What size is a standard school display board?
There is no single size. Many classroom boards are around 120 by 90 cm and corridor boards are often bigger, so measure yours. WallKiwi uses 90 cm wide for a portrait board or 150 cm for a landscape one unless you give your board's width.
Printing and putting it up
What paper should I print display pieces on?
Plain A4 paper works for pictures and cards that sit flat. Use card, around 160gsm, for titles, lettering and badges so they stay flat and last the year. Always print at 100%, with fit to page turned off, so every piece comes out at the size the guide expects.
How do you print a display bigger than A4?
Split large pieces across several A4 sheets, print them at 100% and join them with tape from behind. WallKiwi does the splitting for you: large pieces run across sheets with trim lines so they match up neatly.
How do you put a display up straight?
Measure and mark a light pencil line, or run a strip of masking tape across the board, and line the title and headings up against it. Start with the title in the middle and work outwards. WallKiwi's guide shows the finished board so you can lay everything out before you staple.
How do you stick things to a display board without staples?
Drawing pins, sticky putty and double-sided tape all work on most fabric and cork boards. Sticky putty is easiest to move later; double-sided tape holds card best. On painted walls, use removable tabs or putty so nothing marks the paint.
Should I laminate classroom display pieces?
Laminate pieces you will reuse or that pupils will touch, such as vocabulary cards and labels. Leave large pieces and titles unlaminated if glare is a problem under classroom lights. Laminated cards can be written on with a dry-wipe pen.
Using WallKiwi
Can I turn a photo of my display into a printable one?
Yes. Upload a photo of a display you already have and WallKiwi rebuilds it piece by piece, with every word exactly as it is on the board. A straight-on photo with the whole board in view works best. You can then change any words before you print.
Can I change the words before it prints?
Yes. Before anything is made you see the board and can tap any words to change them. What you see is exactly what will be printed, and every word is checked on the finished piece.
Can I make a notice board for an office or surgery?
Yes. WallKiwi makes information boards as well as classroom displays, such as opening times, club lists or staff notices. Type the details exactly as they should print and every word is checked before you print.
Are there free display board examples I can download?
Yes. The example packs are free to open and download and use no credits. Designing a board from your own words or photo uses credits, and a free account includes some each month.
How many displays can I make?
Each design uses credits, shared between display boards, lettering, bunting and decorations. A free account includes some each month, and everything you make stays in your library to download again.


Your next board, without the late night
Describe it, pick a look, print. Every piece in one style, every word checked.